
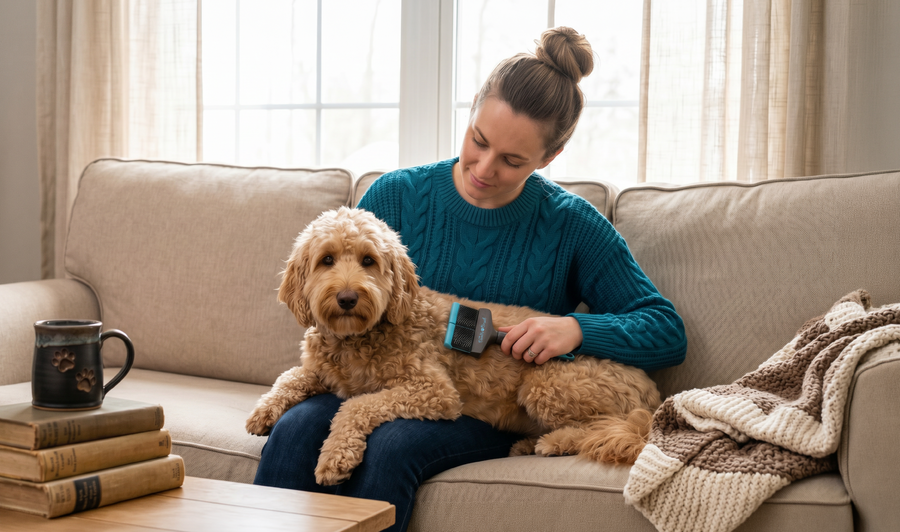

Brushing your Doodle at home sounds simple. In practice, a lot of owners either do it in a way that misses the mats forming underneath — or they struggle so much with resistance and tangles that sessions become a battle they dread.
Neither has to be your reality. The right dog brush and slicker brush, used properly, can transform each session.
With the right technique, the right tools — including some of the best grooming tools for curly coats — and a clear sequence to follow, home brushing becomes one of the most straightforward parts of owning a Doodle. This guide covers everything — from what you need before you start, to the step-by-step method, to how to know when you're actually done.
This works for all Doodle breeds: Goldendoodles, Labradoodles, Cockapoos, Cavapoos, Bernedoodles, and every curly mix in between.
What you'll learn:
- A simple routine that prevents mats
- When to use a Double-Head vs Single-Head slicker brush
- How to brush "from the skin out" in layers
- The quick comb check to know you're truly tangle-free
What You Need Before You Start
You don't need a lot of tools. But the ones you have need to be right for the coat. When weighing the best brushes for dogs with curls and waves, prioritise flexible heads and sufficient pin length.
The four tools used in this guide:
- Double-Head Flexible Slicker — the main body brush for medium and large Doodles. The wider head covers ground faster on the body, and the flexible head glides through curls without tugging or snagging. Start every session with this if you have a Labradoodle, Goldendoodle, standard Bernedoodle, or similar sized breed. Many owners consider this the best slicker brush for larger, curly coats.
- Single-Head Flexible Slicker — for precision work, and the better starting point for smaller Doodles (Cockapoos, Cavapoos, mini breeds). Smaller head, more control. Ideal for the ears, armpits, paws, and anywhere the double head is too wide to work comfortably — regardless of your dog's size. This compact dog grooming brush gives extra control on tight spots.
- Extra-Long Pin Slicker — for Doodles with longer or denser coats, or tighter curls that standard slickers struggle to penetrate. Not every Doodle needs this, but for dense adult coats or curly-coated breeds it reaches the deeper layers where mats most commonly form. A wavy-coated Doodle may not need it; a curly-coated one of the same size almost certainly will. It's often the doodle dog brush that finally reaches the base of dense coats.
- Finishing Comb — the final glide test. A firm metal comb that confirms the coat is genuinely tangle-free after brushing. If it snags, there's still a tangle present. Only when it moves freely is the session truly done.
Also helpful:
- Detangling spray — a light mist on dry or resistant coat makes brushing noticeable easier and reduces the pulling sensation for your dog.
- High-value treats — especially important for dogs still building positive associations with brushing.
Set everything out before you bring your dog over. Fumbling around looking for a comb mid-session unsettles dogs that are already sitting still through something they're not entirely sure about.
Pro tip: Run any new dog brush firmly across your own forearm before using it on your dog. It should feel smooth, not scratchy. If it's uncomfortable on you, it's uncomfortable on them.
How Often Should You Brush?
The answer depends on coat type — but the minimum for any Doodle is three times a week. For curlier, denser coats, daily brushing is ideal.
- Wavy coats (looser wave, less dense) — 3 times a week minimum
- Curly coats (tight curls, dense) — 4--5 times a week, ideally daily
- During coat transition (puppy to adult coat, typically 6--12 months) — daily, without exception. This is when mats form fastest.
Short, frequent sessions always beat long, infrequent ones. 5--10 minutes three times a week is more effective at preventing mats than 30 minutes once a week — and far less stressful for your dog.
The Step-by-Step Brushing Method
Follow this sequence every time. Consistency in technique is what builds an efficient routine and keeps mats from developing unnoticed.
Step 1: Start with the Right Slicker on the Main Body
The tool you start with depends on your dog's size and coat:
- Medium and large Doodles (Labradoodles, Goldendoodles, standard Bernedoodles) — start with the double-head flexible slicker. The wider head covers the body faster and is well suited to larger surface areas.
- Smaller Doodles (Cockapoos, Cavapoos, mini breeds) — start with the single-head flexible slicker. It gives you the same technique with more control on a compact body.
If you're choosing a brush for goldendoodle coats, start with the double-head on standards and the single-head on minis.
Whichever brush you start with, begin on the larger body areas — the back, sides, and chest. The flexible head glides through the coat without tugging or causing your dog to yelp.
Work methodically through the body before moving to the more sensitive areas. Starting here allows your dog to settle into the session while you cover the easiest ground first.
Pro tip: Keep strokes short and controlled. Long sweeping strokes across the surface look efficient but miss the layers underneath.
Step 2: Brush "From the Skin Out" in Small Sections
This is the technique most owners get wrong — and it's the main reason mats form even in dogs that are brushed regularly.
Surface brushing — passing the brush over the top of the coat — makes the coat look smooth. It does almost nothing for what's happening underneath, where mats actually form.
The correct layering technique:
- Part the coat in each section so you can see the skin
- Place the brush at skin level
- Brush outward from the skin in short strokes, working through a small area at a time
- Use the lift → Brush → Move on method — lift the coat, brush the layer beneath, move to the next section
- Work up through the section gradually, ensuring every stroke reaches the full depth of the coat
It feels slower than surface brushing. It is categorically more effective — and it's the reason regular brushing actually prevents mats rather than just delaying them.
Step 3: Switch to the Single-Head Slicker for Ears and Armpits
Once the main body is done, switch to the single-head flexible slicker for the precision areas. The smaller head gives you more control exactly where you need it most.
Focus on:
- Behind the ears — lift the ear and work carefully through the coat underneath. This is the number one mat location on virtually every Doodle.
- Armpits and inner front legs — lift each leg gently to access the armpit fully. Mats here pull against the skin with every step your dog takes. Support the leg as you work.
- Around the collar and harness — remove the collar if possible and work around the full neck and chest.
- Tail base and bum area — lift the tail and work in sections. Don't rush this area.
- Lower legs and paws — short, careful strokes around the paw and between the toes.
Pro tip: Support sensitive areas with your free hand as you brush. Holding the coat gently at the base reduces the pulling sensation and makes a significant difference to how your dog tolerates it.
Step 4: Use the Extra-Long Pin Slicker for Longer Coats, Denser Coats, or Deeper Tangles
Not every Doodle needs this tool at every session — but when it's needed, nothing else does the job.
Consider reaching for the extra-long pin slicker if:
-
Your Doodle has a longer coat that the standard slicker struggles to get through
- The coat is particularly dense or tightly curled — common in adult Bernedoodles, curly Goldendoodles, and curly Labradoodles regardless of size
- You're working through an area with developing tangles in the deeper layers that the standard slicker isn't fully resolving
The longer pins reach deeper into the coat than a standard slicker — targeting the layers where mats most commonly start forming and where other brushes simply can't penetrate. A wavy-coated Doodle may rarely need it; a curly-coated one of the same size almost certainly will.
Use it in the same skin-out layering technique. Short strokes, working through sections, never forcing through resistance.
Step 5: Handle Tangles Gently — Never Force
Every brushing session will encounter some resistance. How you handle it determines whether the tangle resolves easily or tightens into a mat.
When the brush meets resistance:
- Stop. Don't push through.
- Use your fingers to feel what's there — loose tangle or something tighter?
- Apply a little detangling spray and work from the edges of the tangle inward
- Use short brush strokes from the tips inward, gradually working toward the skin
- Take your time. Two minutes spent properly resolving a tangle now prevents ten minutes of work next week.
If your dog is showing signs of distress, stop. Give a treat, take a short break, and come back. Pushing through when a dog is stressed damages the trust you've built and makes every future session harder.
Step 6: The Finishing Comb Check
Once every section has been brushed, put the slicker brush down and pick up the finishing comb.
Run the comb through every section of the coat — working in the same sequence you brushed. The comb should pass through smoothly with no resistance.
If the comb snags — don't force it. That resistance tells you there's still a tangle the brush passed over. Go back with the slicker brush, work through that area again, then re-check with the comb.
Only when the finishing comb glides freely through every section — including all the hotspot areas — is the coat genuinely tangle-free. Not before.
Pro tip: Pay extra attention with the comb behind the ears, in the armpits, and around the collar. These are the areas brushes most commonly miss.
Step 7: Comfort First — End Every Session Well
End every brushing session on a positive note. A treat, calm praise, a favourite toy — something that signals to your dog that the session is over and it was worth it.
Grooming is bonding time as much as it is coat maintenance. The more consistently you end sessions in a relaxed, positive way, the more your dog associates brushing with something good. Over time, many Doodles start walking over and sitting down when they see the brush come out.
That's the goal. And every calm session is a step toward it.
Quick Reference: The Full Sequence
- Double-Head Flexible Slicker — main body, using the skin-out layering technique
- Single-Head Flexible Slicker — ears, armpits, collar, tail, paws
- Extra-Long Pin Slicker — deeper layers on longer or denser coats
- Finishing Comb check — glide through every section; if it snags, revisit with the brush
- End with a treat and calm praise
Final Thoughts
Brushing a Doodle at home well comes down to technique more than time. Work in sections. Brush from the skin out. Handle tangles gently. Finish with the comb. Do that consistently, a few times a week, and you'll rarely be surprised by a mat — and your groomer will notice the difference every single appointment. It becomes less of a task and more of a rhythm. And most Doodles, given enough calm and consistent sessions, genuinely start to enjoy it.
🎁 Explore our best-selling Doodle Brush tools
Stay Connected with Us:
👉 Follow our Doodle Brush Facebook Page for expert grooming tips, tutorials, and updates.
👉 Join The Tangle-Free Doodle Club, our private Facebook group for Doodle parents — share grooming stories, get tips, and take part in giveaways!
Related Articles
📓 How to comb Doodle hair a step-by-step guide
📓 The 5 zones that mat first on almost every Doodle
📓 The complete guide to doodle grooming tools and what you actually need
Q&A |
|
Which brush should I use to start, and when do I switch tools?
What does “brush from the skin out” mean, and why is it important?
|


